How to setup service mesh in IBM cloud with Istio and Kubernetes - Part 1
Published On: 2020/04/17
Istio is a cloud platform that is used to connect, secure, control and observe the services. Though it is possible to create a service mesh in kubernetes without Istio, using its features lowers your burden on load balancing, service-to-service authentication and monitoring the services.
As in kubernetes Istio also has data plane and control plane. The Envoy proxy (istio-proxy) component resides in the data plane and the components Pilot, Galley, Mixer and Citadel resides in the control plane.
To know more details on the istio components and architecture visit the official page on istio architecture.
In this article we will go through the details to setup a simple service mesh in ibm cloud using kubernetes and istio.
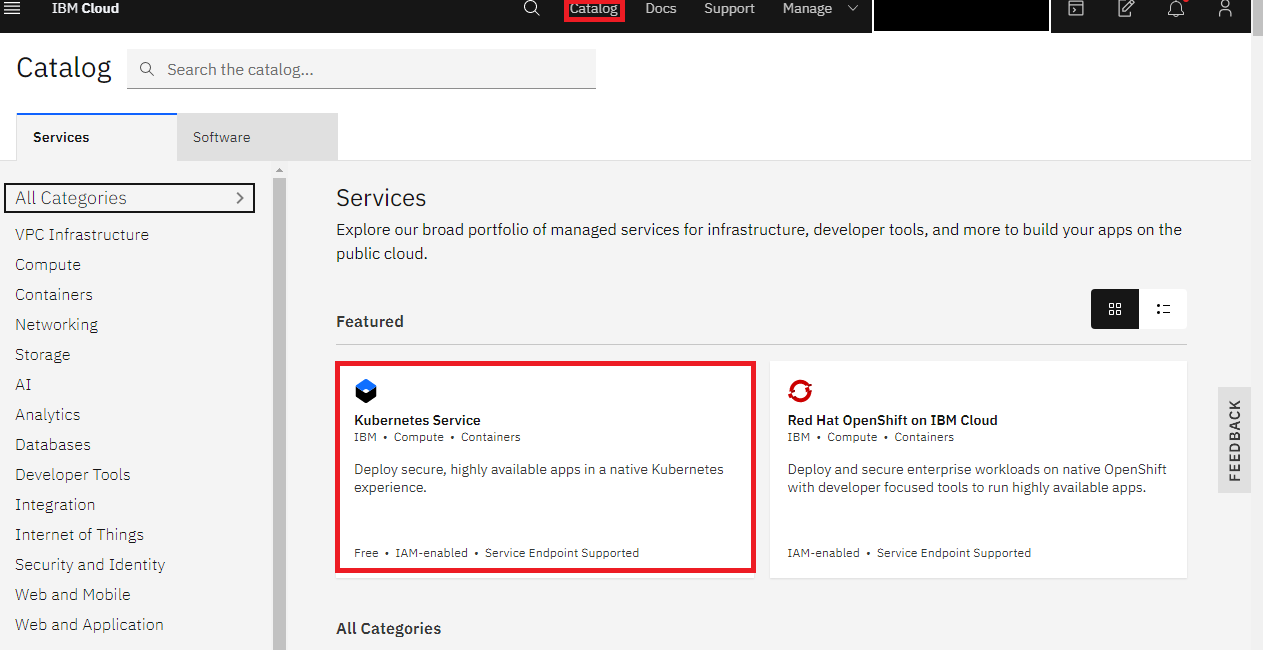
Create Kubernetes Cluster
Since we will be creating the service mesh on kubernetes cluster, let us first create the cluster by selecting it from the catalog.
As our cluster needs at least 3 nodes, we have to use the standard cluster which will cost you some amount. We can either use the classic insfrastructure or our own vpc infrastructure setup in ibm cloud. In this setup i will be using the classic infrastructure as our main goal is to setup Istio.
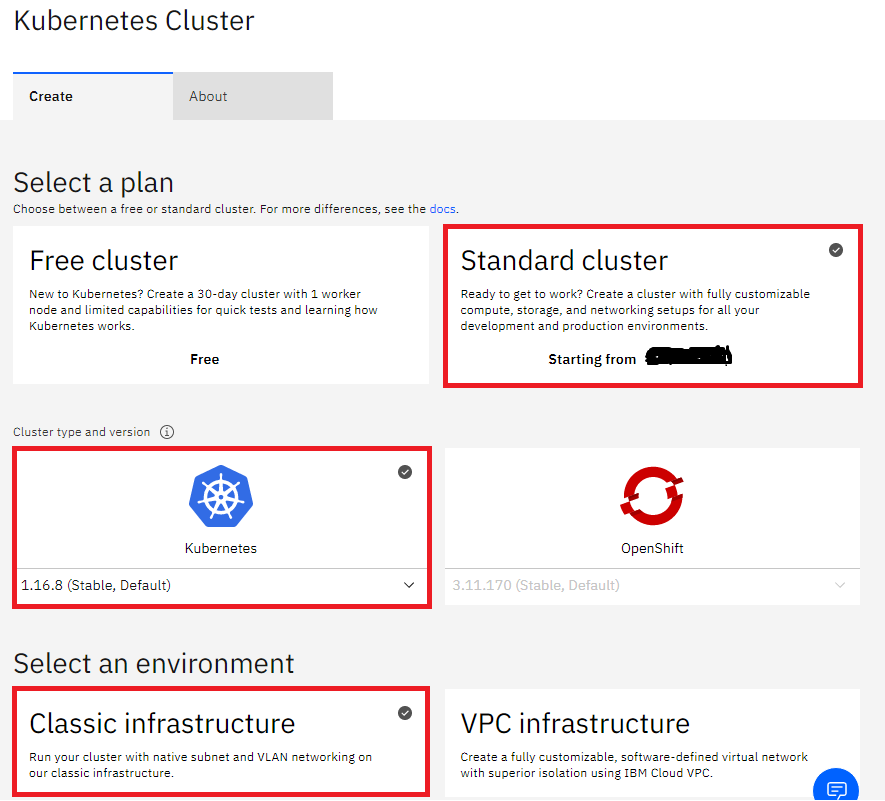
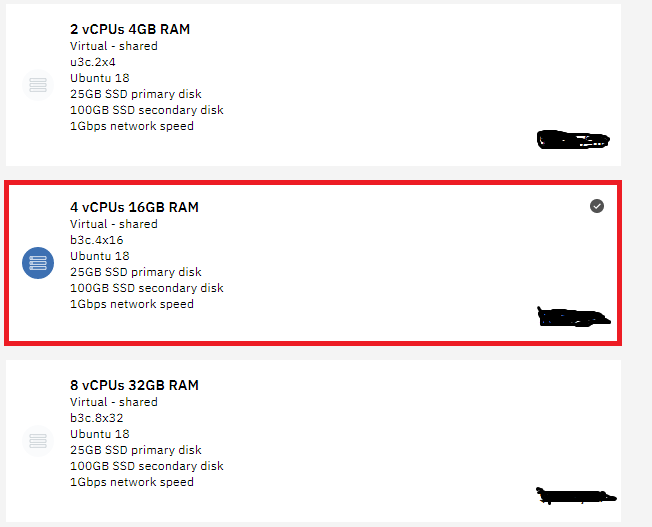
As Istio needs more CPU and RAM, select the option of 4vCPUs and 16GB RAM and create the cluster.
Create a namespace in container registry
Now we need a space to store our application docker images and kubernetes fetches the images from it during application deployment. IBM has the solution for this, the Container Registry.
We can use either ibmcloud CLI or the Web UI (https://cloud.ibm.com/kubernetes/registry/main/namespaces) to create the namespace. In case you want to use the CLI then follow instructions provided in the registry quick start [page] (https://cloud.ibm.com/kubernetes/registry/main/start)
Prepare docker images
Install the docker CLI to prepare the docker images of your application components. Below given is a list of commands required to build, tag and push the docker images to container registry. The simplest way to create a docker image is to run the docker build command from directory where the Dockerfile resides.
sudo docker build --build-arg <param=value> -t <source_image>:<tag> .
eg: sudo docker build --build-arg SERVER_PORT=8080 -t freight-rating-server:0.0.1 .sudo docker tag <source_image>:<tag> <region>.icr.io/<my_namespace>/<new_image_repo>:<new_tag>
eg: sudo docker tag freight-rating-server:0.0.1 us.icr.io/cargo-registry/freight-rating-server:0.0.1sudo docker imagesPush Docker images to your namespace
Once the docker image is ready with the required tag, let us prepare to push it to the container registry. Login to ibm cloud using your credential and select the correct region where you have the container namespace.
sudo ibmcloud login -a https://cloud.ibm.com
sudo ibmcloud cr loginsudo docker push <region>.icr.io/<your_namespace>/<image_repo>:<tag>
eg: sudo docker push us.icr.io/cargo-registry/freight-rating-server:0.0.1Conclusion
In the first part of this article we have covered to create the kubernetes cluster, setup the container registry in a region and upload the images to the container registry. Next part of the article has the details of Istio configuration in Kubernetes.